The biggest job was first removing ALL of the 40 year old paint from the car-- this was the first re-paint of this car, and the old paint from the factory was soft enamel. The new paint available is far superior hard-as-nails acrylic urethane, but it is not wisely painted over the original stuff.
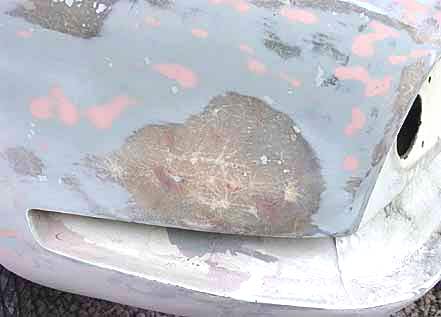
Once we started removing the paint, you could see the various layers of materials, and the stress cracks in the fiberglass- all which had to be fixed.
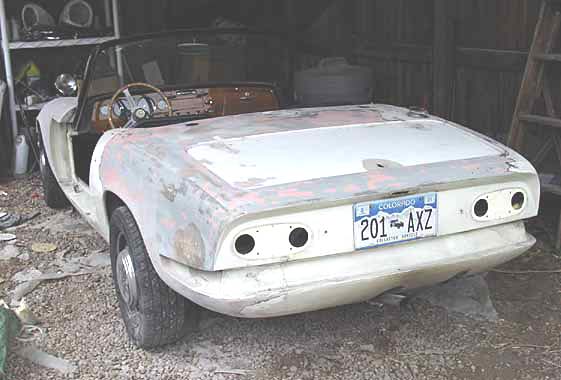
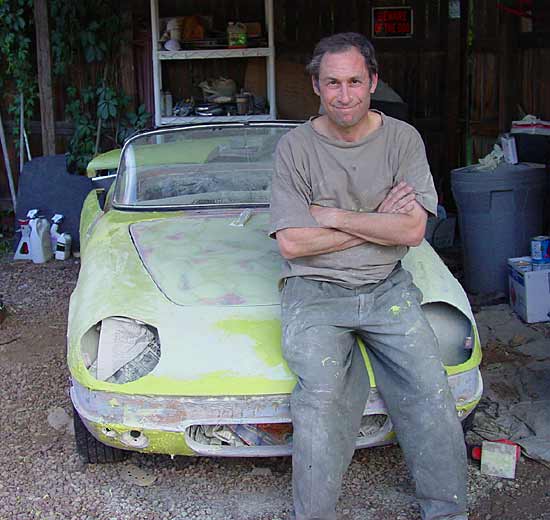
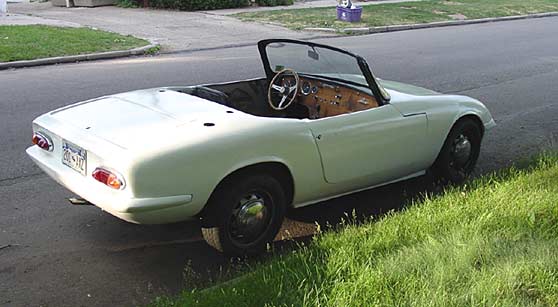
The original owner only drove this car 9,000 miles in 25 years, most of those to the golf course. But see those star cracks in the back fenders below? Golf clubs in the "boot".
Removing the paint was HELL. Even with your frontal lobes on full blast. It took forever. But we made it out alive.
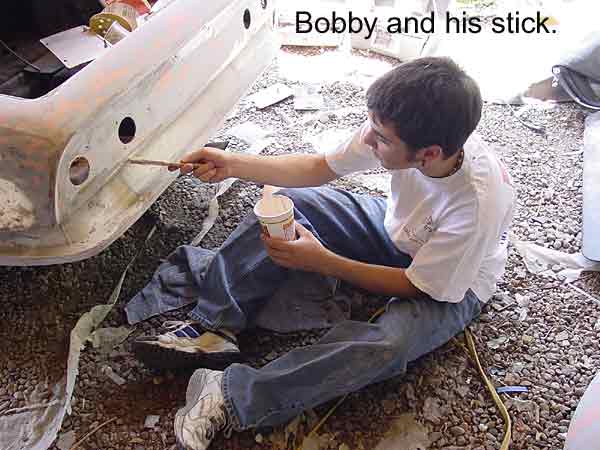
We hired two Creatures From The Black Lagoon to help. Two per light pod.

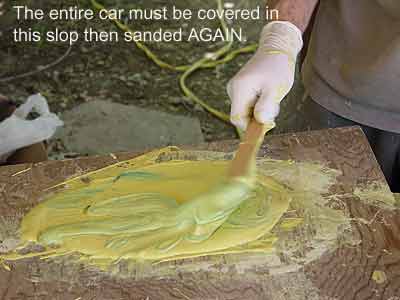
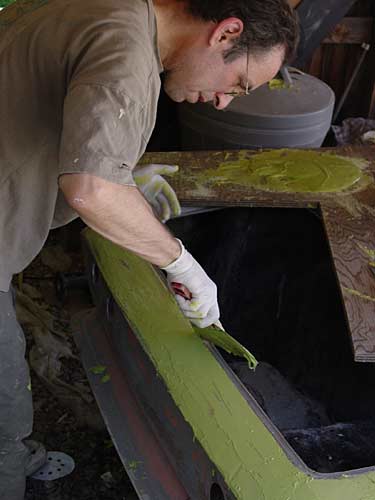
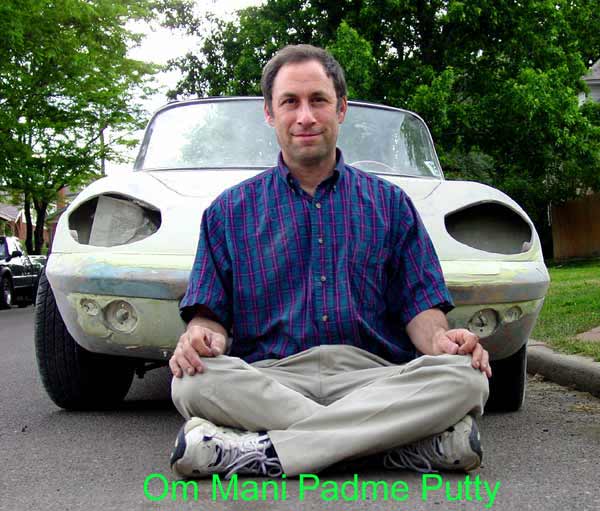
Once the old paint was off - the cracks in the fiberglass is fixed with avocado green goop, known as body putty. I used FOUR GALLONS of this stuff on this cracker jack box sized car.
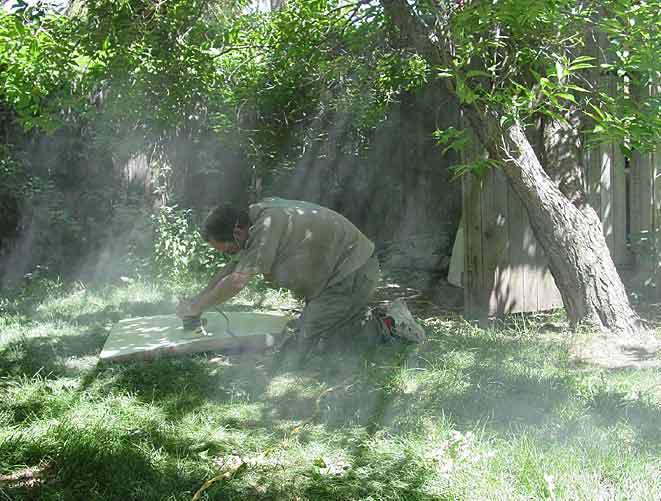
Once you cover the ENTIRE car with this stuff- you then have to SAND THE ENTIRE CAR SMOOTH AGAIN.

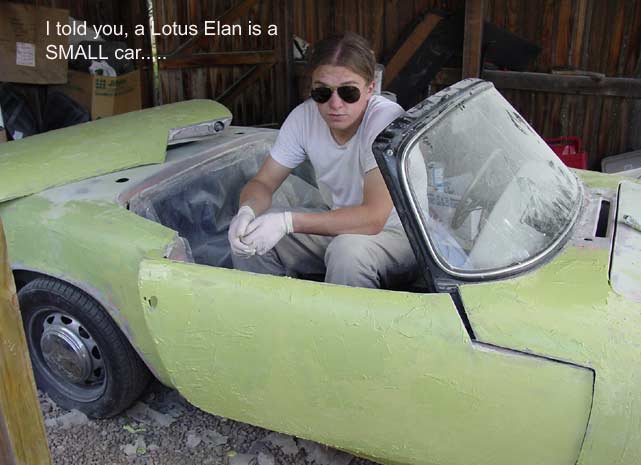
By the time the car was completely sanded smooth again, four gallons of body putty was reduced down to two ounces on the car, and the rest was dust that saturated our yard, and the rest of the block. (Photo below by Weston Wells)
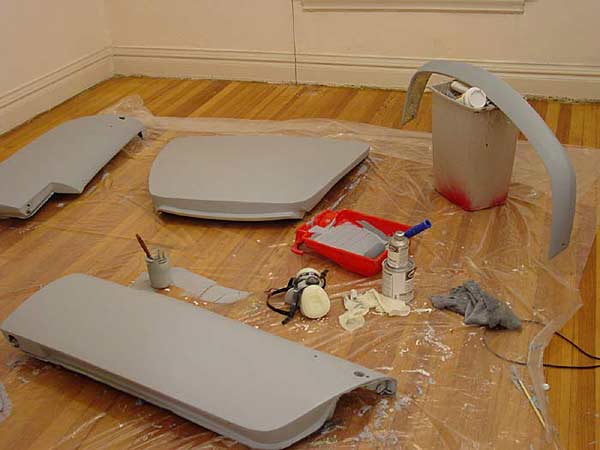
The first coat of paint you put on isn't actually the pretty stuff you see, it's this flat gray PRIMER coat, which is kind of like glue between your car body and the nice pretty paint.
Thanks to modern technology, you can now roll this stuff on with a roller and do it in your living room if its raining outside.
HOWEVER,
make sure you have your gas mask on, all the windows and doors open, the fans on, and the air filters running. And get that stuff back outside the minute it stops raining- because the fumes are related to Zyklon-B . Bad for brain cells.
Of course, after you apply primer to the whole car, guess what....?
You get to SAND the whole car AGAIN.
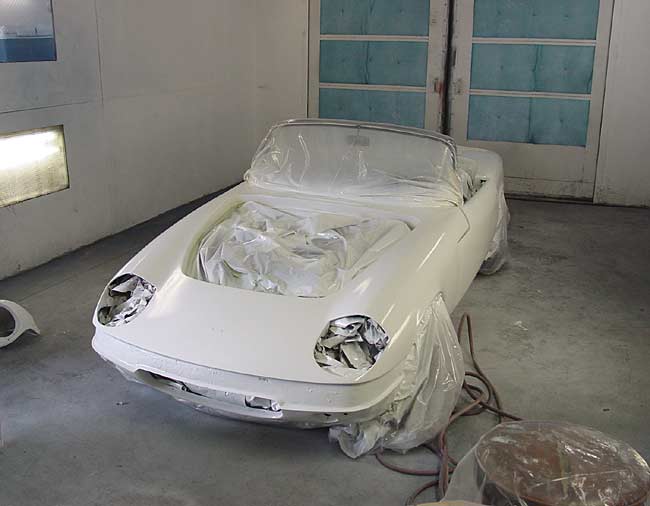
I put on about 5 coats of BRIGHT BRAIN IDEA LIGHTNING WHITE paint, and by that night, I had my shiny new painted car in front of my house. (This new paint dries FAST.)
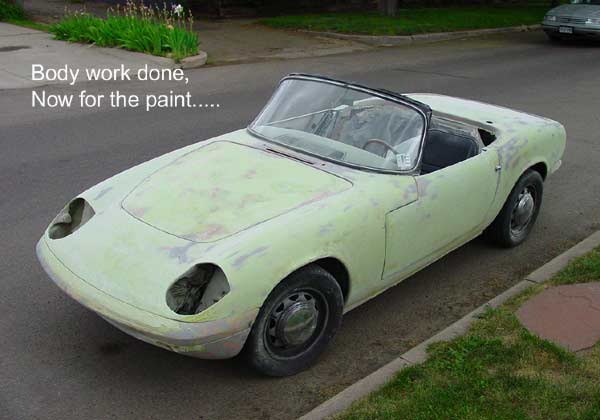
Here's photos without all the little parts back on.
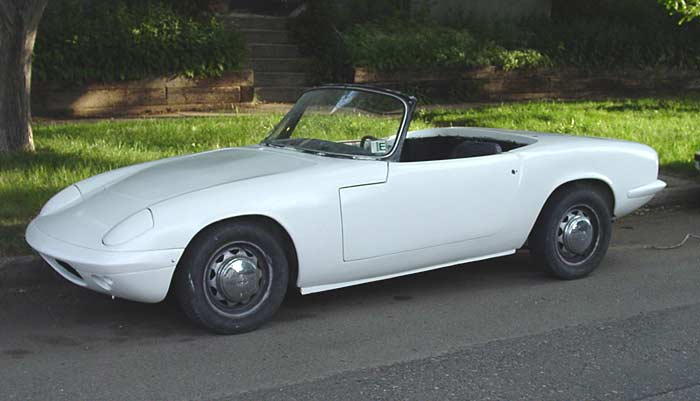
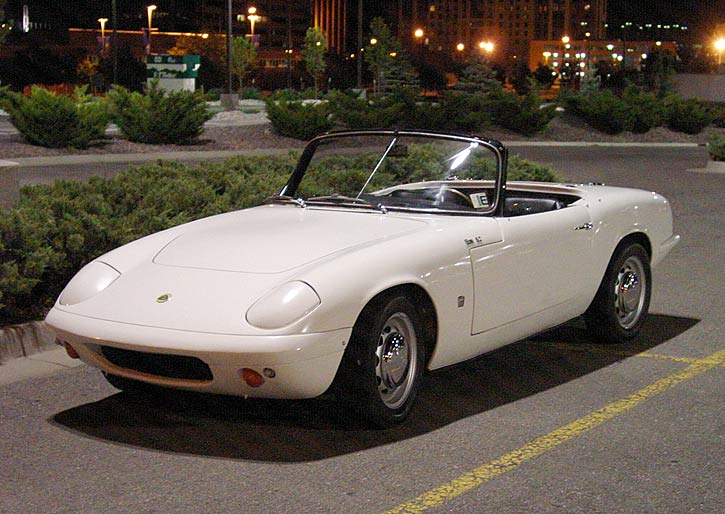
Okay, here it 'tis: The finished "EMMA".
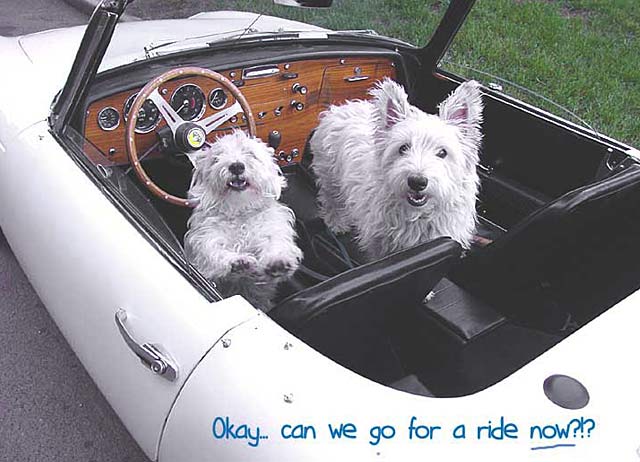
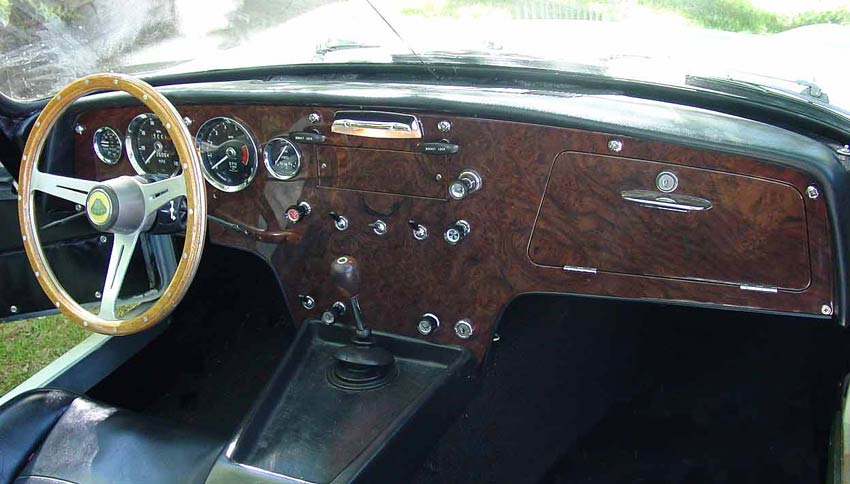
The new dash below was supplied by Prestige Autowoods, San Jose, California to replace the
fake wood dash originally supplied by the factory for an exported left hand drive car. It is an extraordinary example of burl walnut, being a single non-split piece going the full width of the dash, extremely rare.